You’ve Been Accepted—Now What? Where do I start to apply for Student Visa? The Student Visa Starting Point
You’re holding your university acceptance letter. Your dream of studying abroad just became real. But now comes the intimidating part: getting your student visa approved.
If you’ve never applied for a visa before, the process feels overwhelming. Government websites throw around terms like “biometrics,” “CAS numbers,” and “financial evidence” without explaining what any of it means. You don’t know whether to start with documents, applications, or interviews.
This guide cuts through the confusion. Using the exact process international students follow for the USA (F-1 visa), UK (Student visa), Canada (study permit), and Australia (Subclass 500), you’ll learn precisely where to start, what order to do things, and how to avoid the mistakes that get beginners rejected.
What you’ll learn:
- The exact first step (it’s not what you think)
- Which documents to gather before touching any application
- Country-specific pathways for USA, UK, Canada, Australia
- Timeline from acceptance letter to visa approval
- Common beginner mistakes that cause rejections
The Critical First Step 90% of Beginners Get Wrong
Start Here, Not With the Visa Application
Most students make this mistake: they receive their acceptance letter and immediately search “how to apply for student visa.” They find their country’s immigration website, click “start application,” and begin filling out forms.
This is backwards.
The visa application comes later. Your actual first step determines whether everything that follows succeeds or fails.
Step 0: Confirm Your Acceptance is Visa-Eligible
Before anything else, verify these three things:
1. Your Program Qualifies for a Student Visa
Not every course grants visa eligibility. Part-time programs, online-only courses, and language schools under certain hour thresholds often don’t qualify.
Check your acceptance letter for:
- Full-time enrollment confirmation (usually 12+ credit hours in USA, 15+ hours/week in UK)
- Program duration clearly stated
- Official institution status (government-recognized/accredited)
Red Flag: If your letter says “conditional acceptance pending English test” or “part-time enrollment,” you cannot start your visa application yet.
2. Your Institution is Government-Approved for International Students
USA: School must be SEVP-certified (Student and Exchange Visitor Program)
UK: Institution must have a Student Sponsor License (Designated Learning Institution)
Canada: School must be a Designated Learning Institution (DLI)
Australia: Institution must be on CRICOS register (Commonwealth Register of Institutions and Courses for Overseas Students)
How to verify:
- USA: Check SEVP school search
- UK: Confirm on Register of Student Sponsors
- Canada: Search DLI list
- Australia: Check CRICOS search
Why this matters: If your school isn’t on these lists, your visa will be automatically rejected regardless of your qualifications.
3. You Have Sufficient Time Before Program Start Date
Minimum processing times (2026):
- USA F-1: 3-5 weeks after interview
- UK Student visa: 3 weeks (standard), up to 8 weeks (peak times)
- Canada study permit: 8-16 weeks depending on country
- Australia Subclass 500: 4-6 weeks
Working backwards from your start date:
If your program starts September 1st:
- By May 1st: Have all documents ready
- By June 1st: Submit visa application
- By July 15th: Complete interview (if required)
- By August 1st: Receive visa decision
- August 15-25: Book flights, arrive early
Critical rule: If you have less than 12 weeks until your program starts and haven’t gathered documents yet, contact your university about deferring to the next intake.
The Document Foundation (Do This Before Applications)
Once you’ve confirmed eligibility and timelines, your actual first action is gathering documents. Every student visa—regardless of country—requires proof in four categories.
Category 1: Academic Documents (Foundation Layer)
These prove you’re academically qualified and genuinely enrolling.
Required documents:
Acceptance Letter (Official Version)
- Must be on university letterhead
- Signed by admissions officer
- States program name, duration, start date
- Confirms full-time enrollment
- Not conditional (no “pending English test” language)
Academic Transcripts
- All previous education (high school, bachelor’s, master’s)
- Official copies with school seal/stamp
- Certified translations if not in English/French (Canada) or English (USA/UK/Australia)
English Language Test Results
- IELTS, TOEFL, PTE, or Duolingo accepted scores
- Must meet minimum requirements (typically IELTS 6.0-6.5, TOEFL 80-90)
- Valid scores (usually 2 years from test date)
- Exception: If you studied previous degree in English, some countries waive this
Certificates/Diplomas
- High school diploma
- Bachelor’s degree certificate
- Any professional certifications relevant to your program
Statement of Purpose / Study Plan (required for Canada, recommended for others)
- 500-1000 words explaining:
- Why this program
- Why this country
- Career goals after graduation
- Why you’ll return home
Organized checklist:
☐ Official acceptance letter (unconditional)
☐ High school transcripts + diploma
☐ Bachelor’s transcripts + degree (if applicable)
☐ Master’s transcripts + degree (if applicable)
☐ English test scores (original)
☐ All academic documents translated (if needed)
☐ Statement of purpose drafted
Category 2: Financial Proof (The Make-or-Break Section)
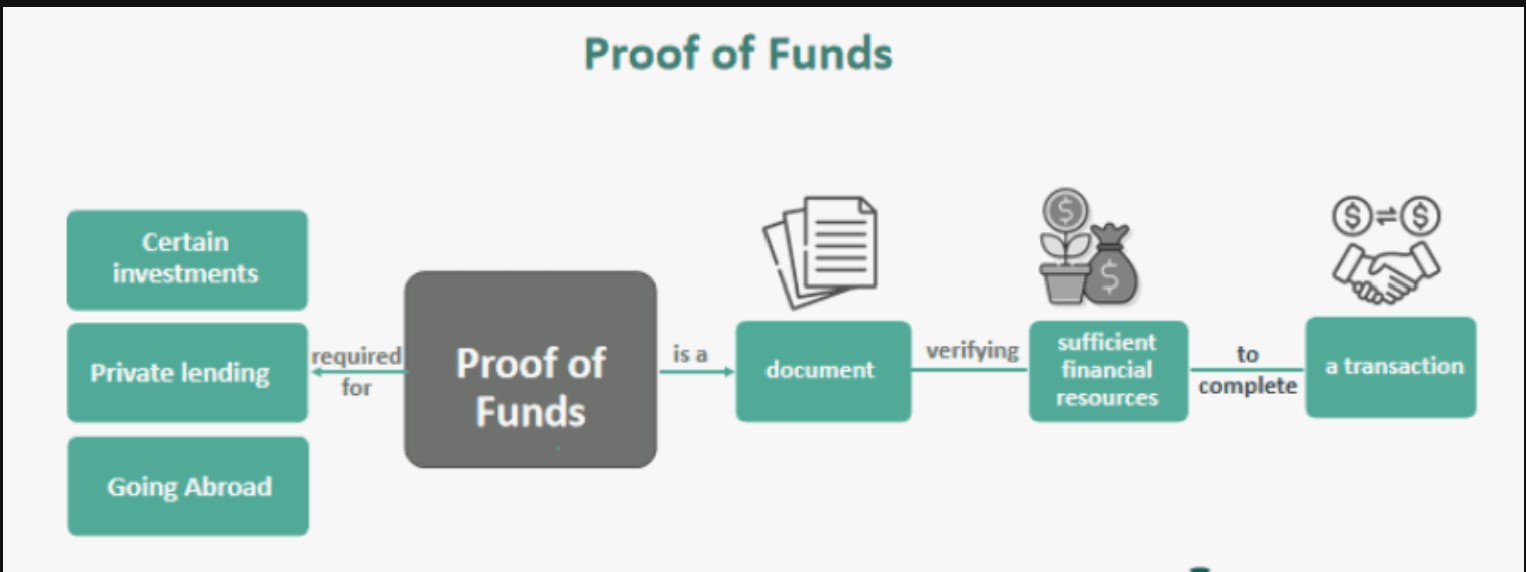
This is where most rejections happen. Immigration officers need proof you can afford tuition plus living expenses without working illegally.
Minimum funds required (2025):
| Country | Tuition + Living Expenses (Annual) | Proof Required |
|---|---|---|
| USA | Tuition + $10,000-$20,000 | Bank statements, sponsor affidavit |
| UK (London) | Tuition + £1,483/month × 9 = £13,347 | 28-day bank statement rule |
| UK (Outside London) | Tuition + £1,136/month × 9 = £10,224 | 28-day bank statement rule |
| Canada | Tuition + $20,635 CAD | Bank statements, GIC (optional) |
| Australia | Tuition + $24,505 AUD | Bank statements, OSHC insurance |
What counts as acceptable proof:
Bank Statements
- USA: Last 6 months showing consistent balance
- UK: Last 28 days showing required funds continuously held
- Canada: 4-6 months recommended
- Australia: 3 months showing ability to cover first year
Critical UK-specific rule (28-day requirement):
Your bank statement must:
- Show the full amount required for 28 consecutive days
- Be dated within 31 days of your visa application
- Be from a recognized financial institution
Example:
- Program starts September 1
- Applying for visa June 1
- Bank statement dated May 20
- Must show £25,000 (tuition £12,000 + living £13,347) held from April 22 – May 20
Sponsor Documents (if parents/relatives paying):
- Sponsor’s bank statements (same requirements as above)
- Sponsorship letter (notarized) stating relationship and financial commitment
- Sponsor’s employment letter showing income
- Proof of relationship (birth certificate, family register)
USA-Specific: Form I-20 and SEVIS Fee
The I-20 form is issued by your university after they receive your financial documents. You cannot apply for F-1 visa without it.
Process:
- University sends you I-20 application link
- Upload financial documents to university
- University verifies and issues I-20 (1-2 weeks)
- Pay SEVIS fee ($350) online at fmjfee.com
- Save SEVIS receipt (required for visa interview)
UK-Specific: CAS (Confirmation of Acceptance for Studies)
Similar to I-20, the CAS is a unique reference number your university issues after receiving your documents and deposit payment.
Process:
- Accept university offer
- Pay deposit (typically £1,000-5,000)
- Submit required documents to university
- University issues CAS (1-3 weeks)
- Use CAS number in your visa application
Canada-Specific: GIC (Guaranteed Investment Certificate)
While not mandatory, opening a GIC account significantly strengthens your application.
What it is: You deposit $10,000-$20,635 CAD into a Canadian bank account before arriving. Funds are released monthly after you arrive.
Approved banks:
- CIBC
- Scotiabank
- ICICI Bank Canada
- SBI Canada
Why it helps: Shows you have liquid funds in Canada already, reducing concerns about financial stability.
Category 3: Identity and Travel Documents
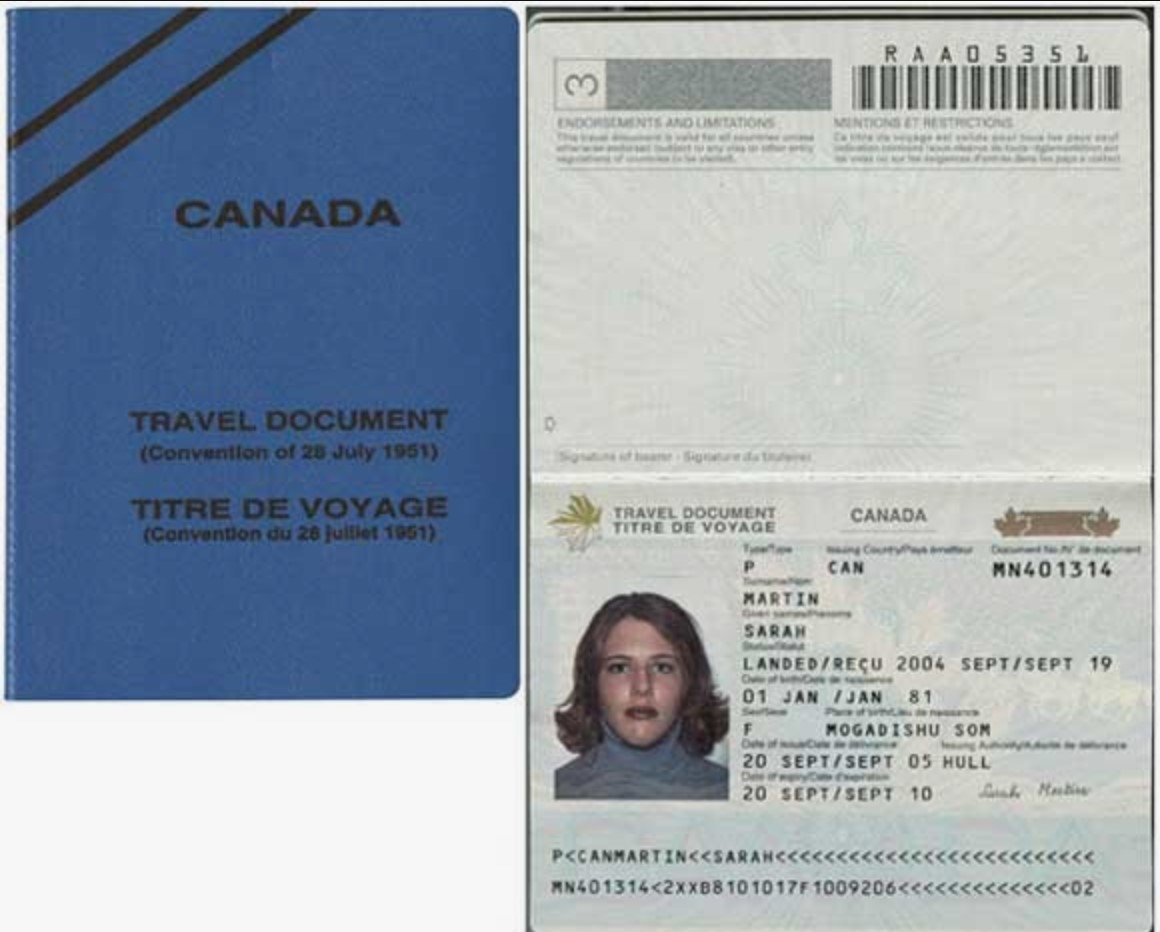
Passport Requirements:
All countries require:
- Valid for at least 6 months beyond program end date
- At least 2 blank visa pages
- Undamaged (no torn pages, water damage, or tampering)
Example calculation:
- Program: September 2025 – May 2027 (20 months)
- Passport must be valid until: November 2027 minimum
- If current passport expires June 2027: Renew NOW before starting visa process
Additional identity documents:
- Birth certificate (certified copy)
- National ID card
- Previous passports (if you’ve traveled internationally before)
- Marriage certificate (if applicable and name changed)
- Police clearance certificate (required for Australia, sometimes Canada)
Photographs:
- Usually 2-6 passport-sized photos
- Specific dimensions vary:
- USA: 2×2 inches (51×51mm)
- UK: 45×35mm
- Canada: 50×70mm
- Australia: 45×35mm
- Must be recent (taken within 6 months)
- White background, neutral expression
- Professional photo shop recommended ($10-20) to ensure compliance
Category 4: Health and Character Documents
Medical Examinations:
Required for:
- Australia: All applicants (mandatory chest X-ray and health examination)
- Canada: Applicants from certain countries, programs over 6 months
- USA: Not required for F-1 visa (but vaccinations needed after arrival)
- UK: Only if from tuberculosis-risk countries (requires TB test)
Process (Australia example):
- Find panel physician from Bupa Medical Visa Services
- Book appointment ($300-500 AUD)
- Bring passport, appointment letter
- Results sent directly to immigration (do not open envelope if given physical copy)
- Valid for 12 months from examination date
Health Insurance:
Australia: Must purchase OSHC (Overseas Student Health Cover) before visa application
- Providers: Bupa, Medibank, AHM
- Cost: $450-600 AUD per year
- Must cover entire visa period
Canada: Some provinces require, some don’t (check specific province)
USA/UK: Not required for visa, but highly recommended
Police Clearance Certificates:
When required:
- Australia: All applicants over 16 years old who’ve lived in any country for 12+ months in last 10 years
- Canada: Sometimes requested
- UK: Generally not required
- USA: Not required
How to obtain:
- Contact police headquarters in countries you’ve lived
- Processing time: 4-8 weeks
- Must be dated within 6 months of visa application
The Country-Specific Application Pathways
Now that you have documents gathered, here’s exactly where to start your visa application for each country.
USA F-1 Student Visa: The Step-by-Step Pathway
Timeline: 6-8 weeks from I-20 receipt to visa approval
Step 1: Receive I-20 and Pay SEVIS
After your university issues your I-20:
- Check all details match your passport exactly (name spelling, birth date)
- Sign I-20 on page 1 (do not date it yet)
- Visit fmjfee.com
- Pay SEVIS I-901 fee ($350)
- Print receipt (bring to interview)
Step 2: Complete DS-160 Form
The DS-160 is your official visa application.
Where: ceac.state.gov/genniv
What you’ll need:
- Passport details
- Travel history (past 5 years)
- Family information (parents’ names, dates of birth)
- Education history
- I-20 details
- Digital photo upload
- Time required: 60-90 minutes
Critical tips:
- Save application ID (you can pause and return)
- Answer “Have you been to USA before?” accurately (they have records)
- Print confirmation page with barcode after submission
Step 3: Pay Visa Fee and Schedule Interview
Cost: $185 (non-refundable even if rejected)
Where to pay: Varies by country
- Check ustraveldocs.com for your country
- Payment methods: bank transfer, online, designated banks
After payment:
- Log into ustraveldocs.com
- Select interview location (US Embassy/Consulate in your country)
- Choose interview date (earliest available usually 2-4 weeks out)
- Print appointment confirmation
Step 4: Prepare for Interview
What to bring:
- Passport (current + old passports)
- DS-160 confirmation page
- Interview appointment letter
- I-20 form (signed)
- SEVIS fee receipt
- Financial documents (original bank statements, sponsor letters)
- Academic documents (transcripts, diplomas)
- Proof of ties to home country (property deeds, family photos, job offer for after graduation)
Common interview questions:
- Why this university?
- What will you study?
- Who is paying for your education?
- What will you do after graduation?
- Do you have relatives in the USA?
Interview day:
- Arrive 30 minutes early
- No electronic devices allowed (leave phone at home)
- Security screening like airport
- Interview lasts 3-10 minutes (quick is good)
- Officer will either approve immediately or request additional documents
Step 5: Receive Visa and Travel
If approved:
- Passport returned via courier (5-7 days)
- Visa stamp valid for 5 years (multiple entries allowed)
- Can enter USA up to 30 days before I-20 start date
If rejected:
- Officer explains reason (Section 214(b) most common: insufficient ties to home country)
- No refund of $185 fee
- Can reapply immediately with stronger evidence
UK Student Visa: The Online Application Process
Timeline: 3-8 weeks from application to decision
Step 1: Get Your CAS Number
Your university issues this after you:
- Accept offer
- Pay deposit
- Submit academic documents
- Meet conditions (English test, etc.)
The CAS contains:
- Unique 14-character reference number
- Your personal details
- Course details
- Confirmation you paid deposit
Step 2: Online Application
Where: gov.uk/student-visa/apply
What you’ll need:
- CAS number
- Passport details
- Travel history
- Financial details
- Tuberculosis test results (if from required countries)
- Time required: 30-60 minutes
After submission:
- Pay visa fee (£490 standard, £470 if applying from EU)
- Pay Immigration Health Surcharge (IHS): £776 per year
- Example: 2-year program = £1,552 IHS
- Allows use of NHS during studies
Total cost example:
- Visa fee: £490
- IHS (2 years): £1,552
- Total: £2,042
Step 3: Book Biometrics Appointment
What biometrics means: Fingerprints and photo taken at visa application center
Where: UK Visa Application Centres in your country
When: Usually within 5-10 days of online application
What to bring:
- Passport
- Appointment confirmation
- Supporting documents (see Step 4)
Step 4: Document Submission
At biometrics appointment, submit:
Mandatory:
- Current passport
- CAS confirmation
- TB test results (if applicable)
- Biometric appointment confirmation
Financial evidence (if required):
- Bank statements showing funds held 28 consecutive days
- Dated within 31 days of application
- Note: Tier 4 differentiation means many students from low-risk countries don’t need to submit financial documents unless requested, but have them ready
Academic documents (if requested):
- Degree certificates
- Transcripts
- English test results
Decision and Visa:
- Standard: 3 weeks
- Priority (extra £500): 5 working days
- Super Priority (extra £1,000): 24 hours
Visa format:
- 30-day entry vignette in passport (temporary)
- Collect BRP (Biometric Residence Permit) card within 10 days of arriving in UK
- BRP is your actual visa valid for course duration
Canada Study Permit: The Two-Stage Process
Timeline: 8-16 weeks depending on country of application
Step 1: Get Acceptance and Provincial Attestation Letter (PAL)
New 2024 requirement: Most students need a Provincial Attestation Letter from their province.
How to get PAL:
- Receive acceptance from DLI school
- School applies to province on your behalf
- Province issues PAL (if quota available)
- School sends you PAL
Quota system: Each province has limited PALs (Quebec, Ontario, BC have quotas)
Step 2: Create Online Account
Where: canada.ca/en/immigration-refugees-citizenship/services/application/account.html
Create GCKey or Sign-In Partner account
Step 3: Complete IMM 1294 Form
The main study permit application form includes:
- Personal details
- Education history
- Family information
- Financial resources
- Study plan explanation
You’ll also need:
- Letter of acceptance from DLI
- Provincial Attestation Letter (PAL)
- Proof of financial support
- Statement of purpose (explaining study plan)
- Language test results
Step 4: Biometrics and Medical Exam
Biometrics ($85 CAD):
- Done at Visa Application Centre in your country
- Fingerprints and photo
- Valid for 10 years
Medical exam (if required):
- Only for programs over 6 months
- Visit panel physician
- Cost: $150-300 CAD
- Results valid 12 months
Step 5: Submit and Wait
Processing times vary significantly:
- India: 11-14 weeks
- China: 10-12 weeks
- Philippines: 12-16 weeks
- Nigeria: 14-18 weeks
- Check current times: canada.ca/en/immigration-refugees-citizenship/services/application/check-processing-times.html
Decision:
- Approved: Receive Port of Entry Letter of Introduction
- Use this to get study permit at Canadian airport when you arrive
- Actual permit issued at immigration upon landing
Australia Subclass 500: The Streamlined Online System
Timeline: 4-6 weeks average
Step 1: Get CoE (Confirmation of Enrollment)
After accepting offer and paying deposit, university issues CoE with unique code.
Step 2: Create ImmiAccount
Where: immi.homeaffairs.gov.au
Step 3: Complete Subclass 500 Application
What you’ll need:
- CoE number
- OSHC (health insurance) policy details
- Passport details
- Health examination results
- Police clearance certificates
- Financial evidence (bank statements)
- English test results (if not exempt)
- Genuine Temporary Entrant (GTE) statement
GTE Statement (Critical):
This 300-500 word statement explains:
- Why Australia for studies
- Why this program fits your background
- Career plan after graduation
- Why you’ll return home (family ties, job prospects, property ownership)
Cost:
- Visa application: $710 AUD
- Health exam: $300-500 AUD
- Police clearance: $50-100 AUD
- OSHC insurance: $450-600 AUD/year
- Total: ~$1,600-2,000 AUD
Step 4: Health and Character Checks
Health examination:
- Book with panel physician before submitting application
- Upload HAP ID (health assessment portal) to application
Police clearance:
- Obtain from all countries lived 12+ months in last 10 years
- Upload certified copies
Step 5: Submit and Track
Processing:
- Track status in ImmiAccount
- Immigration may request additional documents via email
- Respond within 28 days of request
Visa grant:
- Emailed visa grant notice
- Check conditions (work hours, course enrollment requirements)
- Can enter Australia up to 90 days before course starts
Common Beginner Mistakes That Cause Rejections
Mistake 1: Insufficient Financial Proof
What happens:
Student shows bank statement with required amount deposited 2 days before application.
Why it fails:
Officers assume borrowed money temporarily shown, not genuine savings.
Fix:
- Maintain required balance for 28-90 days (depending on country)
- Show consistent deposits over time, not one lump sum
- Provide source of funds explanation (salary, business income, property sale)
Mistake 2: Weak Ties to Home Country
What happens:
Student can’t explain why they’ll return after graduation.
Why it fails:
Officers suspect immigration intent, not genuine study intent.
Fix:
Include evidence:
- Family business you’ll inherit/manage
- Property ownership in home country
- Job offer letter for after graduation (from home country employer)
- Specific career plan requiring return
Mistake 3: Inconsistent Information
What happens:
Application says one thing, interview says another (different sponsor, different graduation date, etc.)
Why it fails:
Raises fraud suspicion.
Fix:
- Keep all information consistent across forms, documents, and interview
- Don’t embellish or exaggerate
- If correction needed, submit amendment with explanation
Mistake 4: Wrong Visa Type
What happens:
Student applies for tourist visa planning to “switch later” or picks wrong study visa category.
Why it fails:
Tourist visas prohibit studying full-time. Wrong visa type = automatic rejection.
Fix:
- Always apply for correct visa from the start
- USA: F-1 for academic studies, M-1 for vocational
- UK: Student visa, not visitor visa
- No “switching” from tourist to student after arrival (must return home and reapply)
Mistake 5: Rushing the Application
What happens:
Student submits application with typos, missing documents, or unclear scans.
Why it fails:
Shows carelessness; officers have no obligation to request missing documents.
Fix:
- Use the checklist below
- Have someone proofread before submission
- Ensure all scans are clear, color, and properly oriented
- Submit complete application first time
Your Pre-Submission Checklist
Before clicking “submit” on any student visa application, verify:
Documents:
- Passport valid 6+ months beyond program end
- Official acceptance letter (unconditional)
- CAS/I-20/CoE (country-specific)
- Financial documents (bank statements, sponsor letters)
- Academic transcripts and certificates
- English test results
- Passport photos (correct size)
- Health insurance (if required)
- Medical exam results (if required)
- Police clearance (if required)
Application:
- All sections completed (no blank fields)
- Information matches passport exactly
- Dates in correct format (DD/MM/YYYY vs MM/DD/YYYY)
- Fees paid and receipts saved
- Biometrics appointment booked
- Interview scheduled (if applicable)
Supporting Evidence:
- Statement of purpose written
- Proof of ties to home country gathered
- Sponsor documents certified/notarized
- All documents translated (if needed)
- Color copies made of everything
Timeline: From Acceptance to Departure
Months 4-6 Before Program Start:
- Receive acceptance letter
- Confirm visa eligibility
- Gather academic documents
- Begin financial planning (open bank account, accumulate funds)
- Research visa requirements
Months 2-3 Before:
- University issues CAS/I-20/CoE
- Complete online visa application
- Book medical exam (if needed)
- Obtain police clearance (if needed)
- Pay visa fees
Month 1-2 Before:
- Attend biometrics appointment
- Submit all documents
- Complete interview (if required)
- Receive visa decision
2-4 Weeks Before:
- Book flights
- Arrange accommodation
- Purchase health insurance (if not already done)
- Notify university of arrival plans
1 Week Before:
- Pack documents in carry-on (never checked luggage)
- Print visa approval, acceptance letter, financial proof
- Prepare for immigration questions at airport
What Happens After Visa Approval?
Your visa doesn’t guarantee entry. Immigration officers at the airport make the final decision.
At airport immigration, have ready:
- Passport with visa
- Acceptance letter
- Financial proof
- Accommodation address
- Return ticket (some countries require)
Questions you might be asked:
- Where will you study?
- Where will you live?
- How will you support yourself?
- When does your program start?
Answer confidently and honestly. This is not the time to mention working (even though it’s allowed part-time). Focus on studies.
After clearing immigration:
- UK: Collect BRP card within 10 days
- Canada: Study permit issued at airport
- USA: I-94 record automatically created (check online at i94.cbp.dhs.gov)
- Australia: Visa already in system (no physical stamp)
Final Word: Start With Documents, Not Applications
The biggest mistake beginners make is starting with forms instead of documents. Your visa application is only as strong as the evidence supporting it.
The correct order:
- Verify eligibility (program, institution, timeline)
- Gather documents (4-6 weeks minimum)
- Obtain university-issued documents (CAS/I-20/CoE)
- Complete visa application
- Submit supporting documents
- Attend interview/biometrics
- Receive decision
If you only remember one thing: Start gathering financial documents today. The 28-day bank statement rule (UK) or 6-month consistency requirement (USA) means you cannot rush this step.
Your acceptance letter is just the beginning. The visa process tests your organization, patience, and attention to detail. But thousands of students successfully navigate this every year—and now you know exactly where to start.
Next steps:
- Review your acceptance letter against the eligibility checklist
- Calculate exact financial requirements for your country
- Open a dedicated bank account for study funds
- Request academic transcripts from previous schools
- Check passport expiry date (renew if needed)
Start now, stay organized, and you’ll be on campus before you know it.